Smart Garden Hose Maintenance: Year-Round Storage Tips
By Hana Kim • 3rd Oct
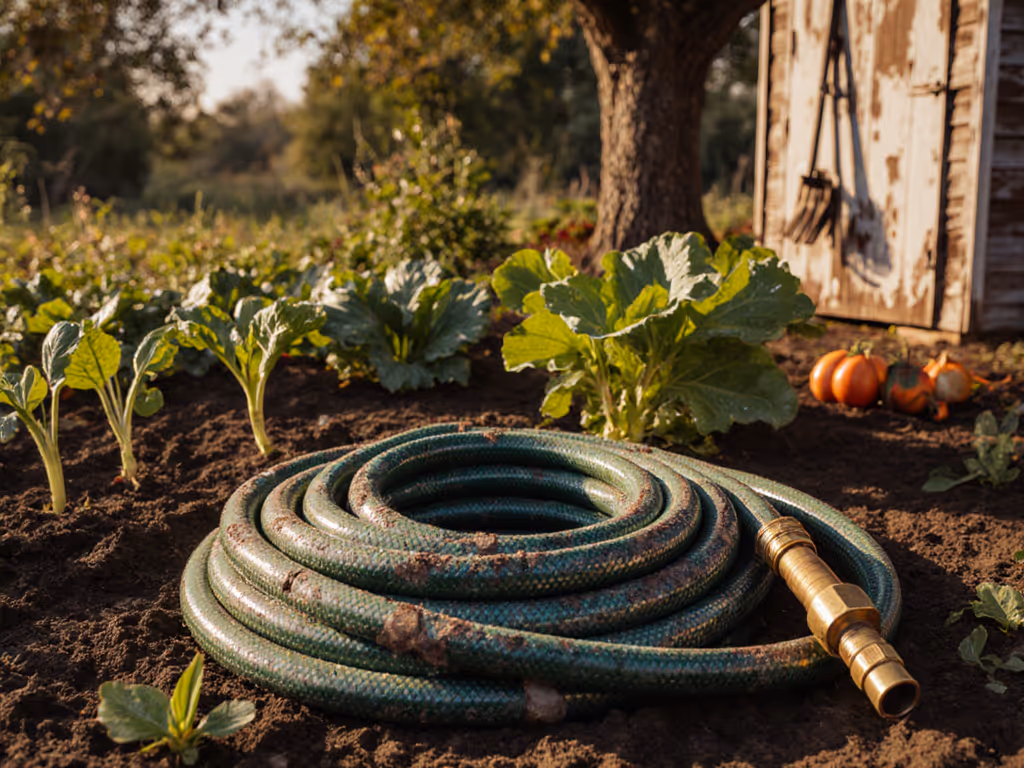
Proper garden hose maintenance isn't just about extending your hose's lifespan. It is about ensuring reliable water flow from spring planting to winter cleanup. When you master outdoor hose storage, you eliminate frustrating kinks, prevent costly winter damage, and avoid those Saturday-afternoon trips back to the hardware store. I've seen too many homeowners wrestle with twisted hoses or face burst pipes after the first frost (problems that disappear once you create a simple map from spigot to nozzle for your entire watering system). Let's transform your hose routine from chaotic to confident with these practical steps.
Why Hose Storage Matters More Than You Think
Most garden hoses fail prematurely not from wear and tear, but from improper storage. That tangled mess left coiled in the sun weakens materials through UV exposure. Water trapped inside expands during freezing temperatures, causing cracks that will not appear until next spring. And mismatched fittings (a common compatibility oversight) lead to leaks that waste hundreds of gallons annually. The good news? These issues vanish when you establish a clear maintenance system tailored to your specific climate and usage patterns.
5 Essential Steps for Year-Round Garden Hose Maintenance
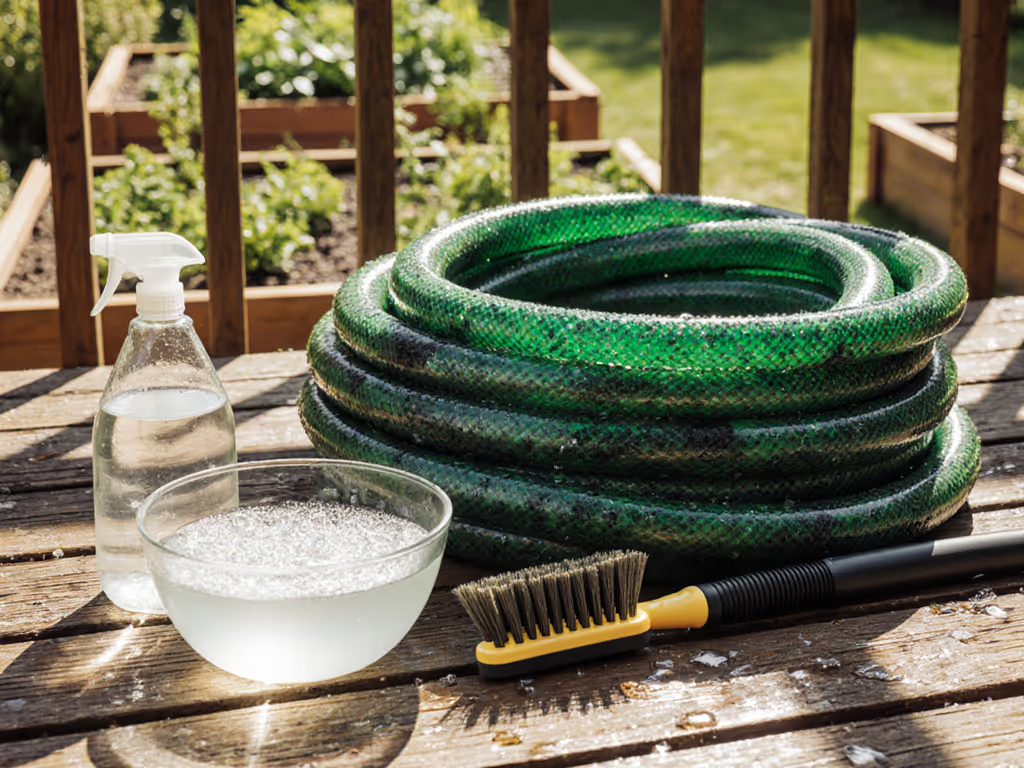
1. Always Drain Completely Before Storing
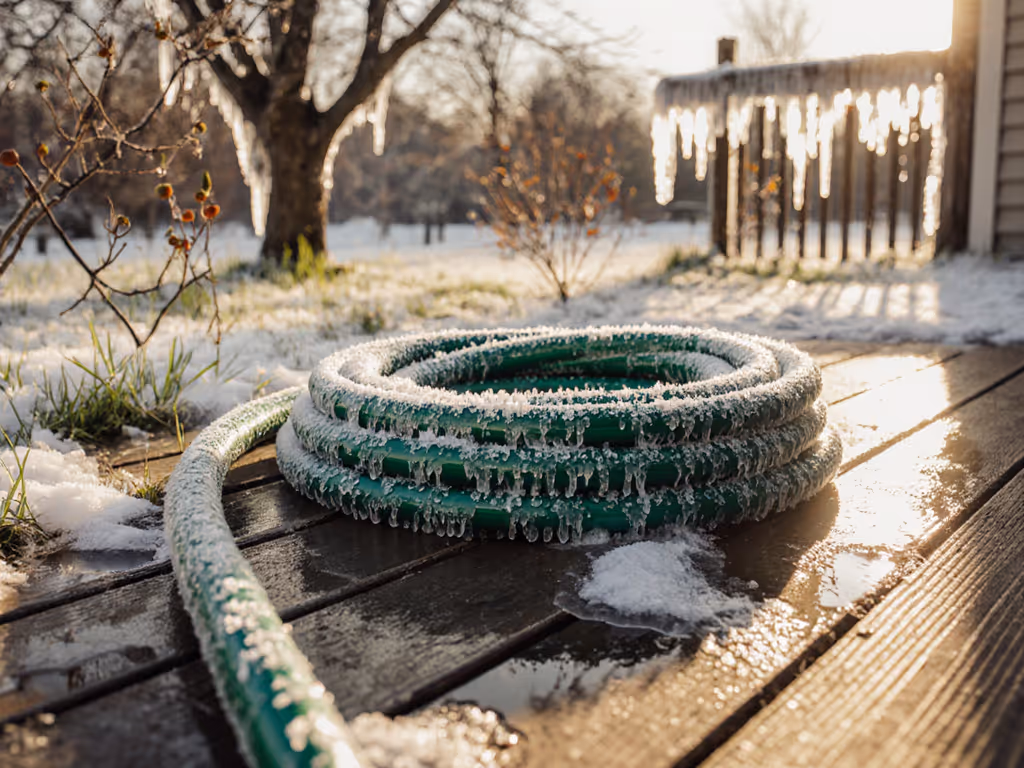
Water left inside your hose is the silent killer of longevity. In freezing climates, it expands and ruptures inner linings. In warm zones, stagnant water breeds bacteria that clog spray heads and create unpleasant odors. Here's my foolproof drainage method:
- Disconnect your hose from the spigot and lay it straight on level ground
- Elevate the nozzle end about 12 inches above the spigot end
- Walk toward the nozzle while gently shaking the hose (this uses gravity to move water toward the exit)
- Once most water drains, give the hose two controlled "whip" motions to clear remaining droplets from bends
This technique prevents common kinking issues before they start by keeping internal linings supple. Never coil a wet hose (that is how mildew takes root in hidden crevices).
2. Master the Art of Proper Coiling
Incorrect coiling creates memory kinks that ruin water flow. Follow this simple decision tree:
"Start with the spigot, end with a click-fit finish."
The Oscillating Coil Method
- Hold the spigot end in your left hand, nozzle end in your right
- Take a step forward while bringing hands together, creating a loop about 18 inches in diameter
- Step backward while reversing hand positions (creating a figure-eight pattern)
- Repeat until fully coiled (this alternating motion prevents twist buildup)
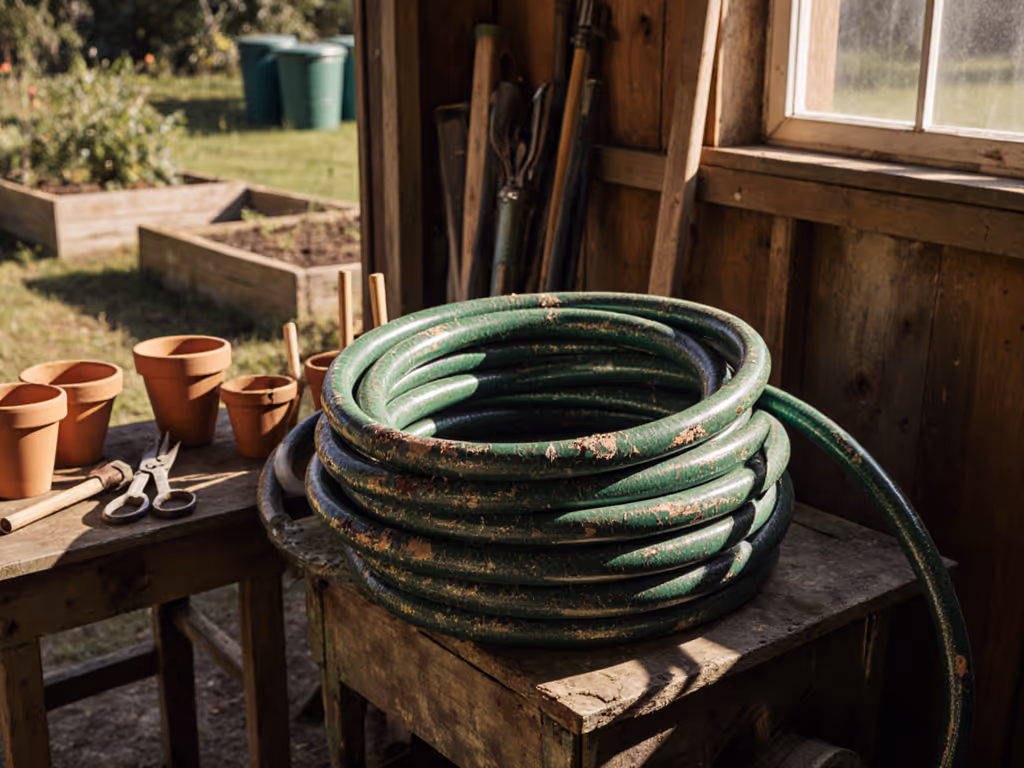
Store coiled hoses in a shaded, dry location off the ground. Never wrap tightly around sharp objects or through fence slats, as that creates permanent bend points. If you notice persistent kinks, inspect for compatibility issues between your hose and connectors.
3. Adapt Storage for Seasonal Changes
Your garden hose winterizing strategy must match your climate zone. For month-by-month timing and tasks, consult our seasonal garden hose care guide. In freeze-prone areas, indoor storage is non-negotiable. For mild climates, proper outdoor storage requires extra precautions:
- Freeze Regions (Zones 1-6): Disconnect completely before first frost. Store vertically in a garage or basement where temperature stays above 40°F. Never leave connected to outdoor spigots (trapped water in bibs causes costly plumbing damage).
- Temperate Zones (7-9): Use wall-mounted storage 3+ feet off ground to avoid morning dew accumulation. Add a hose reel cover with UV protection.
- Hot/Arid Climates (10+): Prioritize shade storage (direct sun degrades standard hoses in 1-2 seasons). Consider reflective covers for reels.
This tailored approach prevents the most common winterization failures I've documented through years of customer support work. Remember: a single freeze-thaw cycle can compromise hose integrity even if no visible damage occurs.
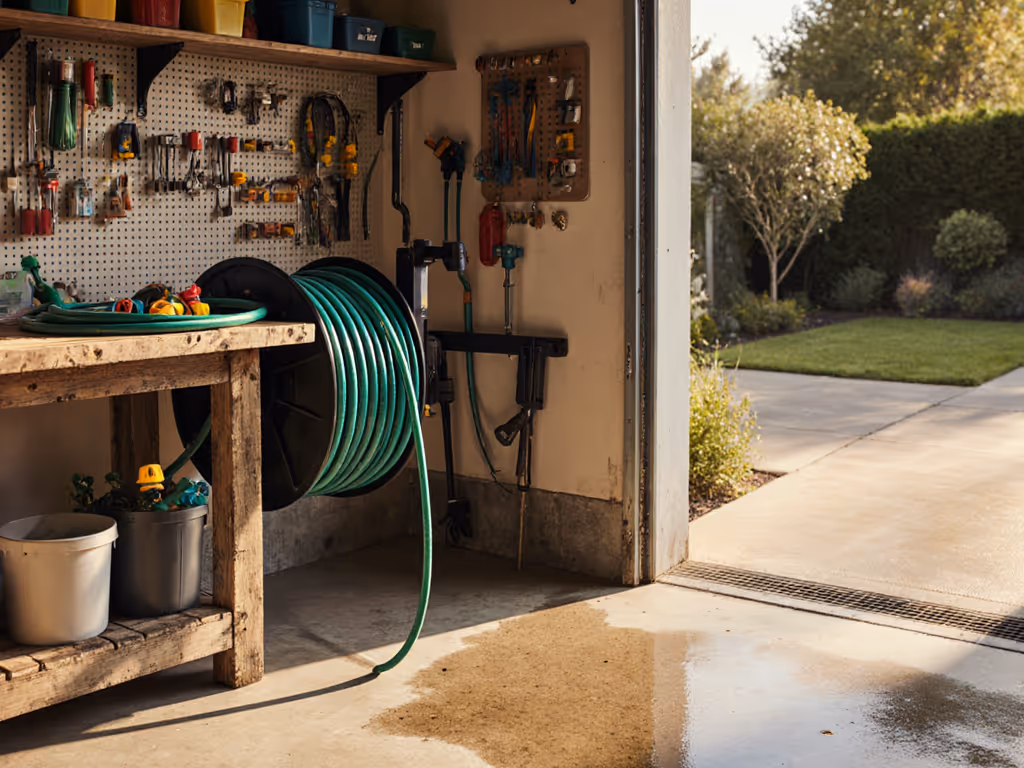
4. Select Storage Solutions That Match Your Space
Your outdoor hose storage method should align with your property layout and physical needs. Here's my compatibility checklist:
- Wall-Mounted Reels: Ideal for narrow lots but require proper bracket installation. Look for brass swivel joints, since plastic ones crack under tension.
- Crank Reels: Best for heavy-duty hoses but need accessible winding space. Ensure the crank mechanism has stainless steel components.
- Hose Hangers: Perfect for small spaces. Install multiple hooks at different heights to accommodate various hose lengths.
- DIY Solutions: That "chic bucket method" works if you drill proper drainage holes. Position it to allow complete water runoff after each use.
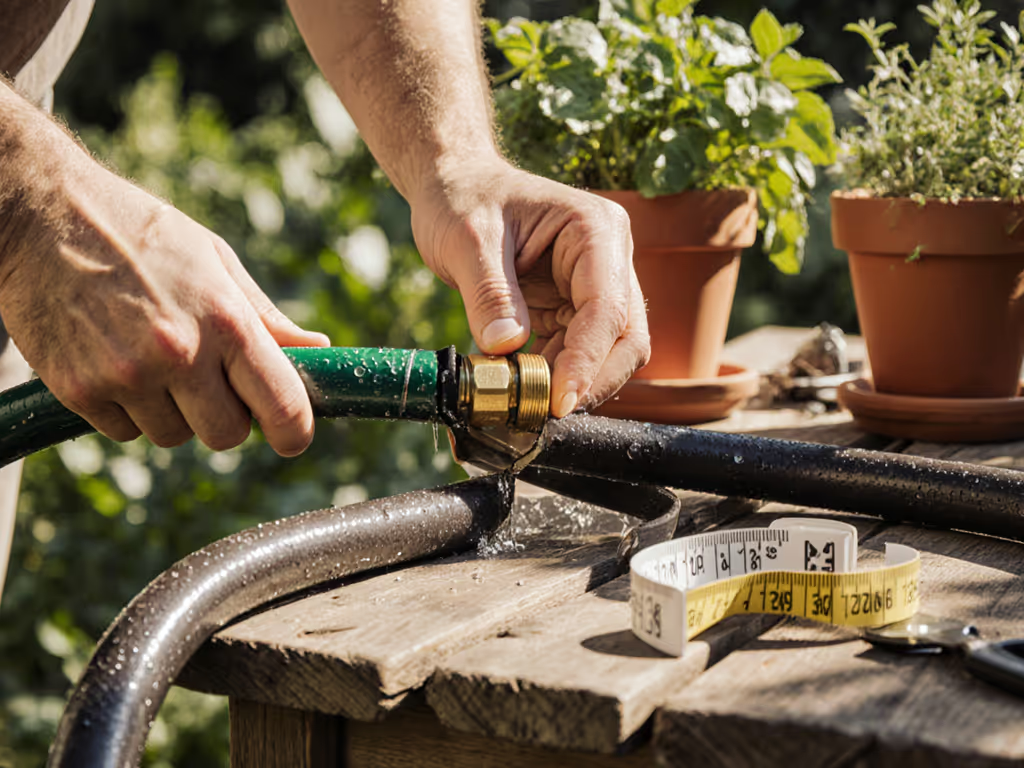
Choose storage that accommodates your full hose length without forcing tight bends. When in doubt, measure your fully extended hose including all connections, then add 10% for safety margin. This prevents the "almost long enough" problem that leads to makeshift extensions and connection leaks.
5. Implement a 30-Second Pre-Use Check
Before connecting your hose, spend 30 seconds preventing future headaches:
- Inspect washers at both ends (replace if flattened or cracked)
- Check for abrasions along the length (especially near connectors)
- Verify quick-connect fittings click securely into place
- Test water flow at the lowest pressure setting before attaching nozzles
Keeping a basic garden water hose repair kit handy (spare washers, thread tape, and a repair coupling) saves emergency trips to the store. Not all kits work with every hose, so match washer sizes to your specific fittings using a simple coin test (quarter for 3/4", nickel for 5/8").
Creating Your Personalized Maintenance System
The "one-size-fits-all" approach fails because every watering system has unique compatibility requirements. My breakthrough came after my third Saturday wasted on mismatched fittings. I mapped every thread and diameter from spigot to nozzle and built a one-page checklist. Now I install in one pass, no tape panic. Compatibility prevents returns; clarity saves weekends.
Start building your own system:
- Photograph each connection point in your watering setup
- Note thread types (GHT standard in US) and diameters at each junction
- Measure water pressure at your spigot with a $5 gauge
- Document seasonal adjustments in a small notebook
This simple map (from spigot to nozzle) takes 20 minutes but pays dividends for years. When neighbors borrow your checklist, you'll know you have created something genuinely useful.
Next Step: Build Your Maintenance Calendar
This weekend, dedicate 15 minutes to create your personalized hose maintenance calendar. Mark your phone calendar for:
- Every use: Post-watering drainage and coiling
- Monthly: Washer inspection and lubrication
- Season change: Full system check and storage adjustment
- First frost warning: Complete winterization protocol
Keep this schedule visible where you store your hose (fridge door or garage wall). A consistent routine transforms hose maintenance from a chore to a seamless part of your gardening rhythm. When you know exactly what to do and when, you'll spend less time fixing problems and more time enjoying your garden.
Related Articles