Hydroponic Nutrient Hoses: Chemical Resistance
By Amina Okoye • 28th Apr
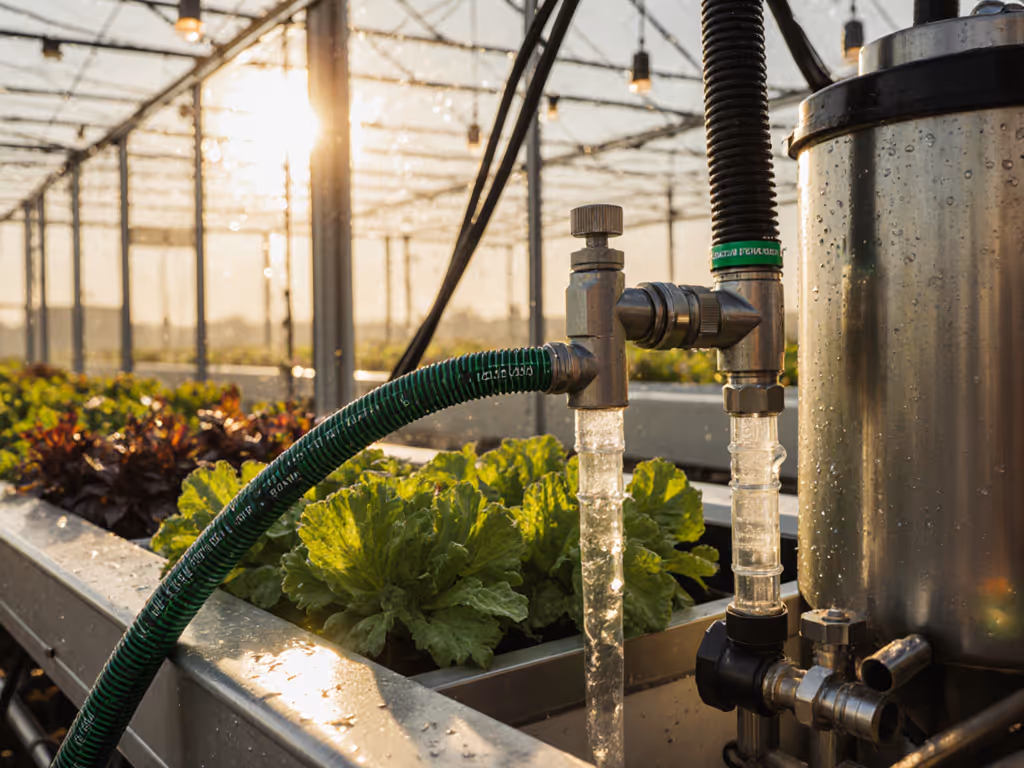
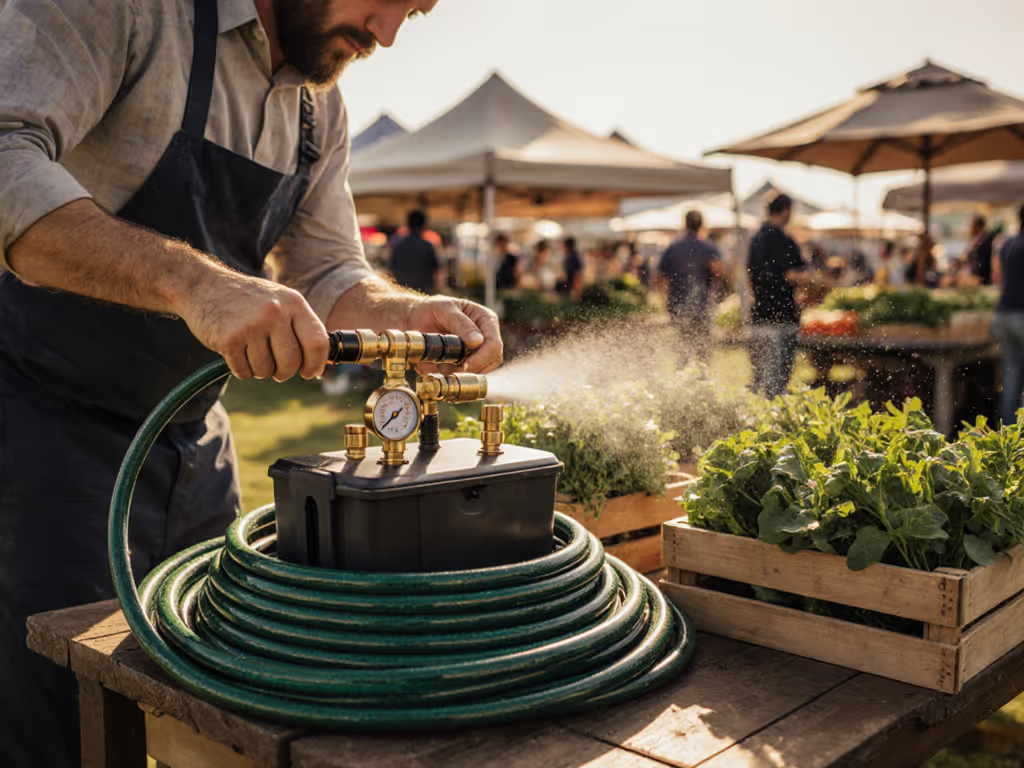
Chemical-resistant garden hose systems built for hydroponic nutrient solutions aren't just upgrades. They are the foundation of a setup that actually works for months and seasons without leaks, cloudiness, or that sinking feeling that your feeding line is quietly breaking down. A hydroponic nutrient hose engineered to handle fertilizers, pH adjusters, and dissolved minerals will deliver reliable flow to your plants while protecting the integrity of your entire system. For system design tips and attachment options, see our hydroponic hose water delivery guide.
I learned this the hard way at our community garden. We started with a standard rubber hose that looked fine for water, but nutrient solution was another story. Within weeks, the inner walls developed a tacky film, connections started to weep, and I could feel the hose stiffening in my hands. We pulled it out, switched to tubing certified for potable water with lead-free brass fittings, and suddenly, no more strain, no more worry. That is when I understood: comfort and safety are features, not accessories or afterthoughts.
Why Chemical Resistance Matters in Hydroponics
Hydroponic systems circulate nutrient-enriched water continuously through tubing and connected components[2]. If your tap or well water has unique chemistry, our water chemistry guide explains how minerals and disinfectants interact with hose materials. Unlike plain garden watering, this fluid is not just water. It contains dissolved nitrogen, phosphorus, potassium, micronutrients, and often pH buffers or additives. These chemicals, while safe for plants, can degrade tubing materials if the hose is not designed to resist them[1].
When you use a standard hose, several problems emerge:
- Chemical interaction: Plasticizers in cheap PVC can leach into the nutrient solution, affecting plant uptake and potentially introducing unwanted compounds into edibles.
- Mineral and biofilm buildup: Hard water minerals and algae growth accelerate inside tubing exposed to nutrient-rich solutions[1].
- Connection degradation: Fittings corrode or swell unevenly, creating slow leaks that are easy to miss until you notice wilted plants.
- Shortened lifespan: A hose rated only for garden use may fail within a season when pressurized with nutrients.
A chemical-resistant garden hose and properly selected hydroponic system tubing solve these problems by using materials and construction that resist nutrient attack, maintain dimensional stability, and tolerate the extended wet cycles that define hydroponic work.
Step 1: Know Your Material Options
Not all hose materials are equal when chemistry enters the picture.
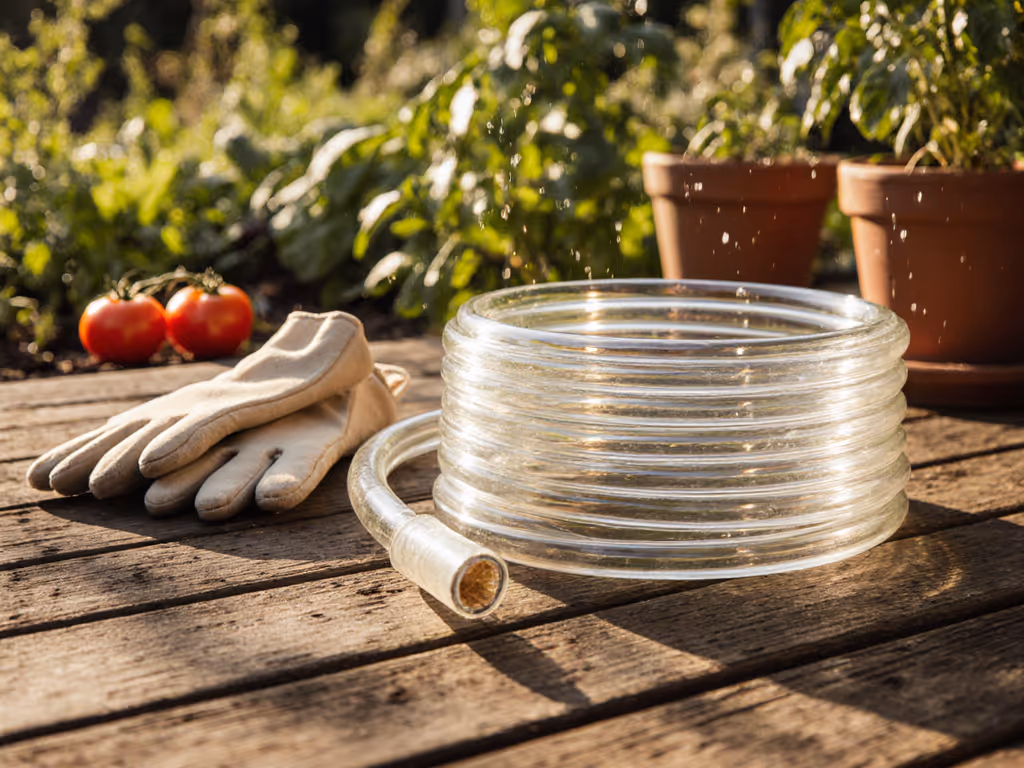
Food-Grade PVC
PVC can work in hydroponic systems when it meets food-safe or potable-water standards[1]. Food-grade PVC is formulated to resist leaching and contains fewer harmful additives. The key: verify the labeling. Any PVC hose you choose for nutrients should explicitly state "food-grade" or "NSF certified for potable water." Standard vinyl or hardware-store PVC does not qualify.
Resistance: Good for most nutrient solutions; handles normal system pressure without bursting[1].
Durability: Lasts 2-3 seasons if properly maintained, but degrades faster in direct UV and can become brittle in freezing conditions[1].
Rubber (Natural and Synthetic)
Rubber (particularly reinforced rubber hoses) offers superior chemical resilience and flexibility. Rubberized tubing resists nutrient degradation better than PVC and maintains its inner diameter over time, reducing friction loss and pressure drops[5].
Resistance: Excellent; rubber is more forgiving of prolonged nutrient exposure than most plastics.
Durability: 3-5 seasons or longer, especially if stored indoors during off-seasons.
Trade-off: Heavier and more expensive than PVC, but worth it if you are running year-round or in a commercial-scale setup.
Stainless Steel Tubing
For dedicated nutrient circuits (especially those that include heaters or chillers), stainless steel coils and tubing deliver maximum chemical resistance and temperature control capability[7]. This material is overkill for simple hobby systems, but essential for precise, high-value operations.
Resistance: Exceptional; stainless steel is virtually immune to chemical attack.
Durability: Decades, with proper maintenance.
Step 2: Choose Fittings and Connectors That Match
The hose body means nothing if the fittings fail. This is where most home growers lose credibility and leak everywhere.
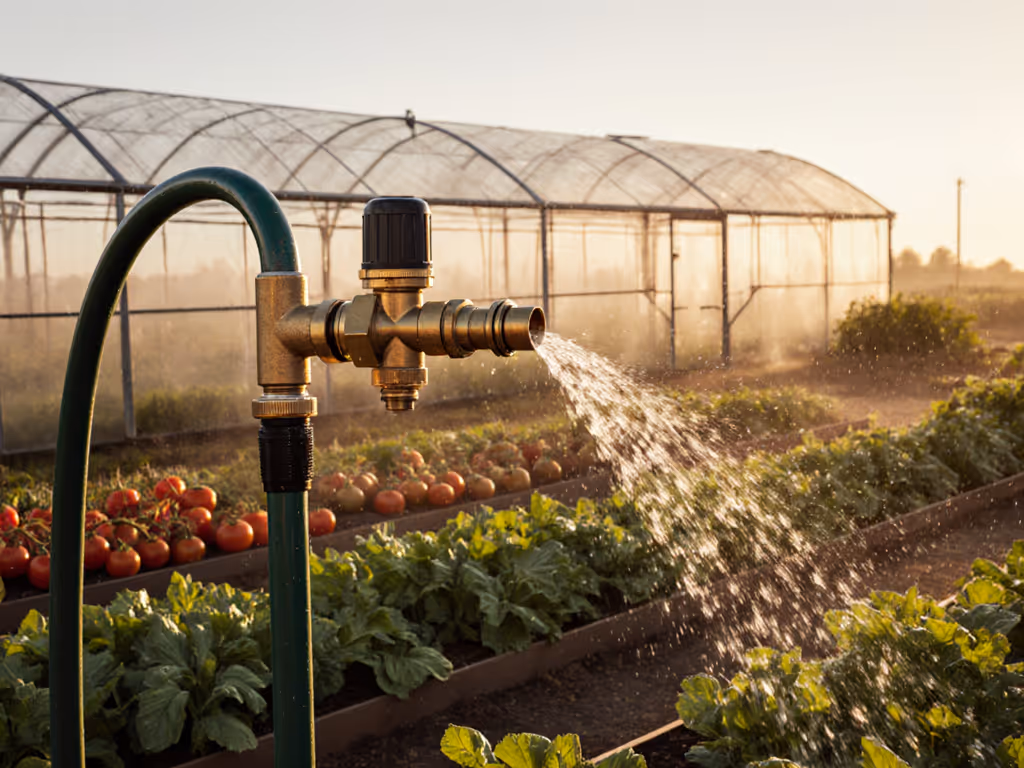
Lead-Free Brass
Always specify lead-free brass fittings for any tubing that carries water destined for edibles, pets, or human consumption[1]. Brass resists corrosion from nutrients and maintains its seal integrity season after season. When you hand-tighten a brass connector, you know it is going to hold.
Thread Compatibility
Confirm that your fittings match your spigot and hose threads. Standard U.S. garden hoses use Garden Hose Thread (GHT), but some hydroponic kits and commercial systems use BSP (British Standard Pipe) or NPT (National Pipe Thread). A mismatch means leaks that no amount of washers will fix. Use this garden hose thread compatibility guide to identify GHT, NPT, and BSP and choose the right adapters.
O-Ring and Washer Quality
Cheap rubber washers harden and fail within a season, especially when exposed to nutrients and UV. Buy silicone or EPDM washers rated for potable water and nutrient solutions. Keep a small supply on hand so you are never tempted to skip a washer or reuse a worn one.
Step 3: Test for Nutrient Compatibility Before Full Deployment
Before you commit a new hose to your entire system, run a simple 24-hour compatibility test.
- Fill a section of new hose with your actual nutrient solution (diluted at the concentration you will use in the garden).
- Seal one end and let it sit at room temperature for 24 hours.
- Inspect the interior for discoloration, stickiness, or swelling.
- Check the water quality by pouring the solution into a clear container. Look for cloudiness, foam, or off-smells that might indicate breakdown products.
- Feel the hose for brittleness or unusual stiffness.
If the hose passes, you are safe to use it. If you notice any changes, return it and upgrade to a certified food-grade or nutrient-specific alternative.
Step 4: Measure and Size Correctly
Hydroponic systems require sufficient flow and minimal friction loss. This means choosing the right hose diameter[2].
- 5/8-inch diameter: Standard for most hobby setups; delivers 20-25 GPM at the spigot with moderate pressure drop.
- 3/4-inch diameter: Better for larger beds or longer runs; reduces friction and maintains pressure over distance[4].
- 1/2-inch diameter: Fine for point-source drip or small reservoirs but can throttle flow if used for main feed lines.
Calculate your run length (hose path, not straight-line distance) and add 25% for corners and obstacles. This prevents undersizing and the frustration of weak flow at the far end of your garden.
Step 5: Connect with a Strain-Free Setup
A strain-free setup means your hose lies naturally without sharp bends, your connections are snug but not over-torqued, and you can handle or move the hose without fatigue. This is where reel selection and wall-mounted brackets matter.
Install a Swivel-Base Reel
A reel with a rotating swivel base prevents kinks at the attachment point. As you pull hose, the reel turns smoothly rather than twisting the connection.
Use Brass Elbows and Adapters
At wall spigots and reel outlets, install 90-degree brass elbows (not plastic). They reduce stress on threads and prevent the hose from lying awkwardly, which leads to kinks and connection failures.
Coil Properly
When reeling in, guide the hose with a slight curve. Do not force it flat or overwind. Overcoiling creates permanent kinks and encourages fractures inside the tubing when pressure resets.
Step 6: Maintain Regularly to Prevent Buildup
Nutrient solutions leave mineral and biological residue inside tubing. Without maintenance, this buildup restricts flow, fosters algae and bacteria, and shortens hose life[1].
Weekly Inspection
Visually check connections and any visible tubing for weeping, discoloration, or slime. Early spotting saves you from catastrophic leaks.
Bi-Weekly Flush
At the end of each nutrient cycle, flush the hose with plain filtered water for 2-3 minutes to rinse nutrients and debris. This is far easier than deep cleaning later[1].
Monthly Deep Clean
If your hose runs nutrient solution year-round, disconnect it at least monthly and run a mild solution of water and food-safe detergent through it. Use a soft brush to gently clean interior walls if you suspect biofilm. Rinse thoroughly with filtered water[1]. For step-by-step sanitation methods, follow our complete biofilm removal guide.
Quarterly Water Testing
Test your nutrient solution every 3 months for pH, EC (electrical conductivity, which reflects nutrient density), and presence of off-colors or odors. Imbalances can degrade hose materials and indicate contamination[1].
Step 7: Know When to Replace
Even high-quality tubing has a service life. Replace a hydroponic nutrient hose if you notice:
- Permanent discoloration inside the hose (brownish or greenish film that will not flush away).
- Stiffness or brittleness that does not reverse when the hose warms up.
- Recurring leaks at the same connection point, even after re-tightening or replacing washers.
- Visible cracks, splits, or soft spots in the exterior.
- Swelling or bulging anywhere along the length (a sign the material is degrading chemically).
Replacing a hose is far cheaper and faster than replacing plants or dealing with system downtime mid-season.
A Quick Comparison: Material Choice by Scenario
| Scenario | Best Material | Why |
|---|---|---|
| Hobby hydroponic bed, seasonal use, standard nutrients | Food-grade PVC or light rubber | Affordable, adequate chemical resistance, easy to store |
| Year-round hydroponic operation, edibles or culinary herbs | Reinforced rubber with brass fittings | Superior resistance, food-safe, durable under continuous use |
| Commercial or climate-controlled greenhouse | Stainless steel coils + reinforced rubber mains | Maximum durability, temperature control, no material degradation over years |
| High-nutrient concentration or custom additives | Test a small section first, then move to stainless or pharmaceutical-grade tubing | Custom mixes require proven compatibility |
Putting It Into Action: Your Strain-Free, Nutrient-Safe Setup
Start where we did: Pick one section of your hydroponic system and rebuild it deliberately. Replace the hose with a certified food-grade or nutrient-compatible option. Swap out any plastic fittings for lead-free brass. Run that 24-hour compatibility test. Then use what you learn to upgrade the rest of your system gradually.
You will notice the difference immediately: less dripping, more consistent flow, hoses that coil without fussing, and the confidence that your nutrient solution stays pure from tank to plant. That confidence is worth its weight in healthy harvests.
The next time you water, take a moment to feel how smoothly the hose moves, how the connection holds firm, and how your hands do not ache afterward. That is what a strain-free, chemically sound hydroponic gardening equipment setup gives you: not just function, but ease. And when a system is easy and comfortable to use, you use it better and longer.
Your next step: Go back through your current hoses and fittings with a checklist. Identify which ones carry nutrients, which are original to your build, and which show age. Mark the three most critical replacements (usually the main feed line, the line closest to your plants, and any connection that has leaked before). Source certified alternatives this week, and commit to one swap this weekend. You will be amazed at how fast a single change ripples through your whole operation.
Related Articles