DIY Garden Hose to Drip Conversion: Drought Solution
By Amina Okoye • 2nd May
Today's garden hose sprinkler systems waste water and strain your wrists. But you can change that. A DIY drip irrigation conversion takes an afternoon and cuts water waste by up to 50% while eliminating the kinks, kvetching, and aching hands that come with overhead spraying. This guide walks you through building a leak-free drip setup from standard hose components (no plumbing license needed).
Why Convert From Overhead Spray?
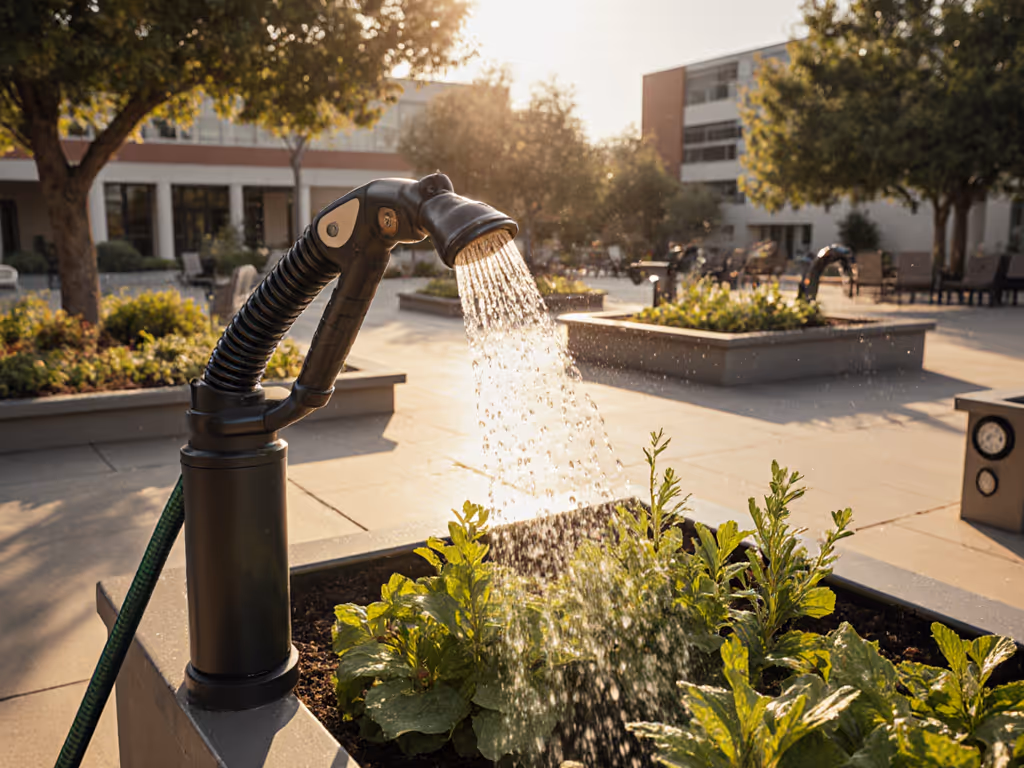
When you spray from a nozzle, water evaporates, runs off, and lands everywhere except where your roots need it. Drip systems send water directly to the soil, slowly and steadily. You use less water, your plants drink better, and drought-tolerant irrigation becomes real and measurable.
The second reason is personal: overhead spraying is hard on your body. Whether you're watering for five minutes or fifty, holding a hose with a pistol-grip nozzle gets tiring. Your forearm tightens, your wrist flexes repeatedly, and by midsummer watering day feels like a chore instead of a pleasure. A strain-free setup means you're more likely to water thoughtfully and keep your system running season after season.
Comfort and safety are features, not accessories or afterthoughts.
When comfort is built in, people stick with good habits. When safety is certain (especially for edibles), families trust the system enough to use it.
How Drip Systems Work
Water flows from your spigot through a pressure regulator, which drops the force to a level drip emitters can handle without blowing apart. The water then travels down main supply lines (usually PVC or ¾-inch hose) and branches into smaller ¼-inch tubing. Along that tubing sit either inline drippers (which release a set amount per hour) or porous soaker hose, which sweats water along its entire length. This targeted delivery cuts evaporation and lets you water deeply and infrequently, building strong root systems and resilience in dry spells.

Essential Components for Your Conversion
You don't need much. Here's the core list:
- Pressure regulator: Reduces water pressure to 25-30 PSI, protecting drip emitters. Screw it directly onto your hose spigot or the beginning of your supply line.
- Backflow preventer: Stops water from flowing backward into your home water supply. Many regulators include this; if not, add an anti-siphon valve.
- Main supply line: ¾-inch PVC or hose, running from your spigot along the perimeter or center of your garden.
- Distribution tubing: ¼-inch flexible plastic tubing that branches from the main line to individual beds or plant clusters.
- Drip emitters: Inline drippers (1 GPH, 2 GPH) for individual plants like tomatoes and peppers; porous soaker hose for rows of lettuce, beans, or root crops.
- End caps and plugs: Close off hose ends and seal unused tubing outlets so pressure stays consistent.
- Stakes or clips: Hold tubing in place so it doesn't wander.
If your spigot is old or low-quality, add washers and thread tape to avoid leaks. If fittings still drip, check for mismatched hose thread types, and use adapters to bridge standards. Lead-free, food-safe fittings matter if you're watering vegetable beds or edible containers (check packaging or ask at the garden center).
Converting Your System: Step by Step
Assess Your Layout
Walk your garden or yard and sketch where water needs to go. Notice which beds are farthest from your spigot; that's where pressure drop matters most. Count bends, obstacles, and the number of plants or rows you'll water. A simple map prevents backtracking and wasted components.
Install Pressure Regulation
Screw the pressure regulator onto your outdoor spigot. For sizing and options, see our garden hose pressure regulator guide. Tighten firmly by hand; don't use a wrench unless the fitting is truly stuck. Turn on the water briefly to confirm no leaks. If water seeps from the threads, turn off the spigot, unscrew the regulator, wrap the male threads with two or three layers of plumber's thread tape, and reattach.
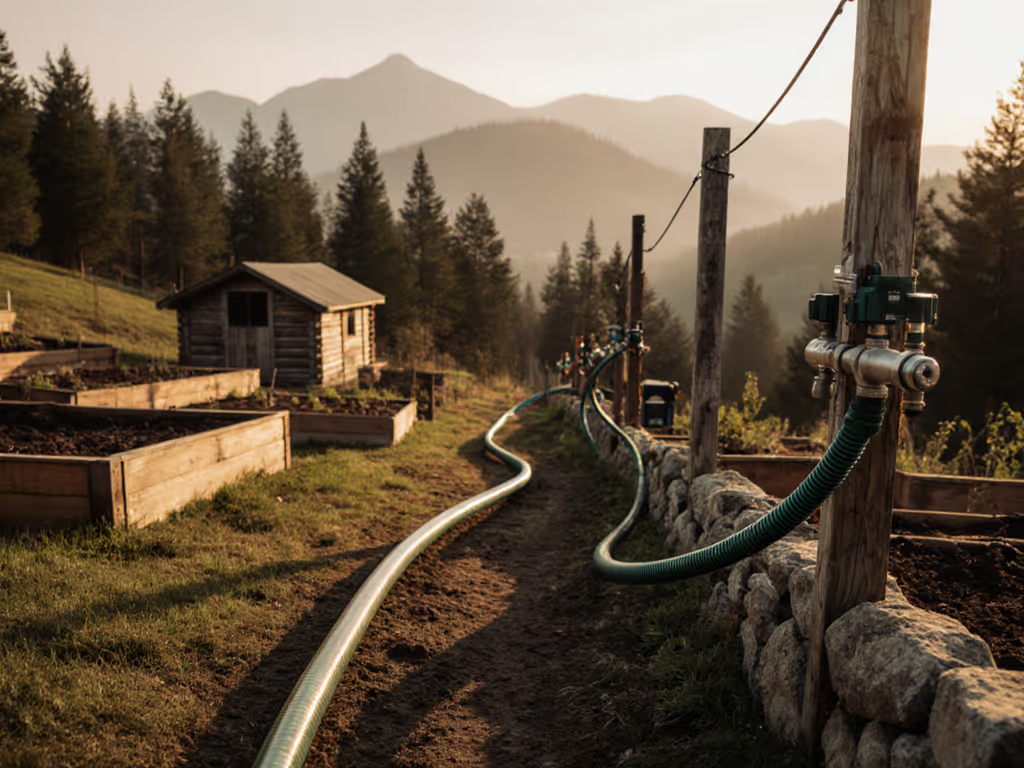
Lay Main Supply Lines
Attach ¾-inch hose or unglued PVC to the regulator outlet. Run it to the center or perimeter of your garden, laying it flat along beds or using small stakes to secure it. At intervals (roughly every 15 to 20 feet, or at each bed), attach a barbed fitting or T-connector so you can branch off ¼-inch tubing.
Many gardeners glue PVC together for a permanent main line, but use flexible hose if you want to move things year to year. Both work; it depends on your space and commitment.
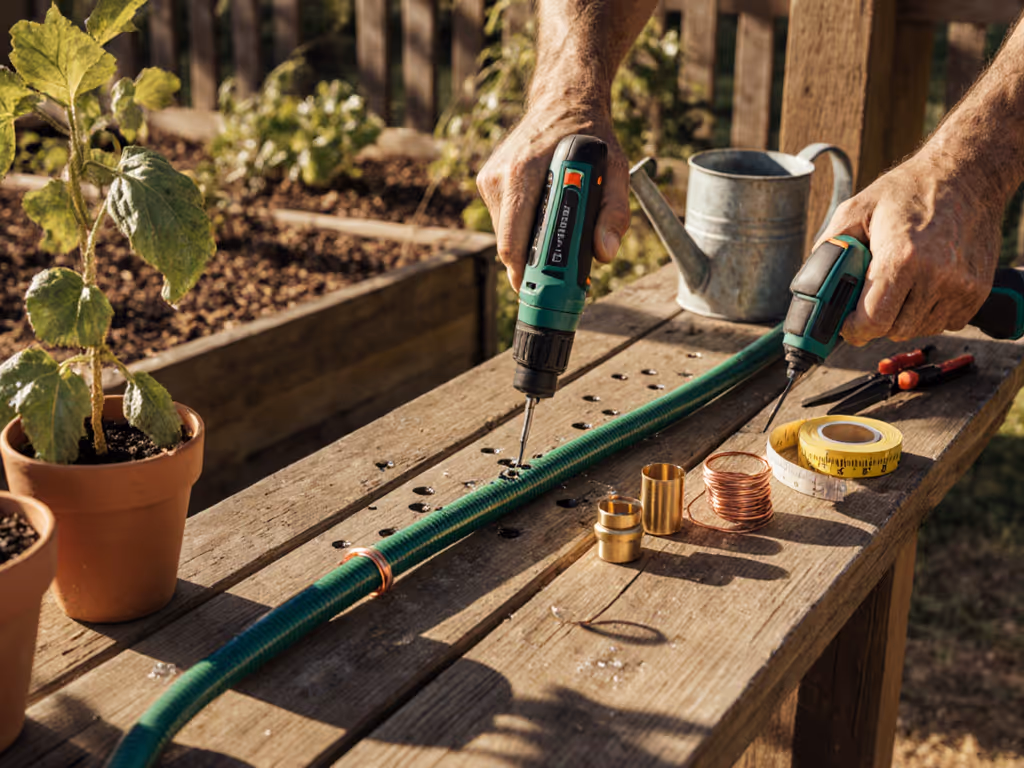
Attach Drip Lines and Emitters
From each branch point, run ¼-inch tubing to your beds. Insert drip emitters by pushing the barbed emitter stem into the tubing (it stays put). Position emitters at the base of thirsty plants like tomatoes, peppers, and squash. For rows of shallow-rooted crops (lettuce, spinach, beets), simply use porous soaker hose instead of drippers. It's simpler and delivers water more evenly across the row.
Cap and Test
Plug the end of each tubing line with a goof plug (a small rubber stopper) so water doesn't dribble out and pressure stays steady throughout the system. Turn on the water and watch. You should see a gentle, steady trickle at each emitter and along soaker hose. No spray, no gushing, no dry spots.
If an emitter isn't flowing, check for a kinked tube or a clogged inlet. If a section of soaker hose stays dry, you may have overpressured it (add a secondary regulator on that branch) or the emitter is blocked.
Testing for Safety and Flow
Before committing your edible beds or pet water areas to the system, run it for 10 minutes and catch water in a clean cup. Smell it. Taste a tiny sip (yes, really). If you detect a plastic odor or taste, disconnect and let water run through the new tubing for another 5 to 10 minutes; manufacturing residue can off-gas. Check your fittings and hose for lead-free certification stamps, especially if you're watering herbs or vegetables that kids will eat. Learn more about drinking-water-safe hoses for edible gardens.
For absolute assurance, buy fittings explicitly marked "NSF certified" or "lead-free for potable water." They cost a bit more, but the peace of mind (and the safety) justifies it.
Maintenance and Winterization
During the Season: Once a week, walk your beds and look for leaks, clogged emitters, or tubing that's drifted out of place. Clear leaves and mulch away from water lines so you catch problems early.
Before Freezing Weather: Drain every drop from your hoses, tubing, and storage reels. Water left in lines will freeze, expand, and crack fittings or rupture hose walls. For a full checklist by season, see our seasonal garden hose care guide. Disconnect the pressure regulator and store it indoors. Roll tubing loosely (not tightly, kinks set in cold and never fully relax) and store it out of direct sunlight. Wrap hoses on a reel or hang them in a garage.
A simple checklist taped to your shed door takes the guesswork out. Empty regulator, drain tubing, store hose, store reel (four steps, done).
Why Comfort and Reliability Matter
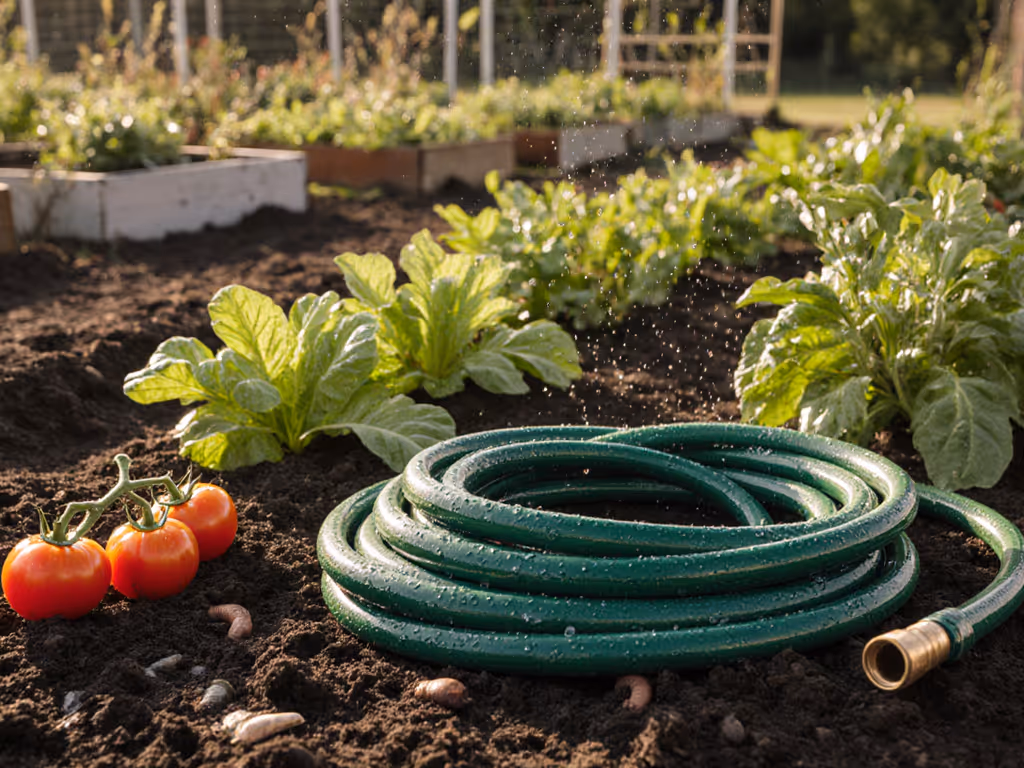
At our community garden, we once used a heavy, kink-prone hose that left wrists sore after just a short watering session. It tangled constantly, and we worried about where it had been stored (whether it was food-safe). We switched to a lighter rubber hose with a swivel-grip fitting and certified lead-free connections, hung it on a wall reel, and added drip lines for the herb beds. Watering sped up, nobody iced their hands afterward, and the system worked through the first drought without a hitch.
That's what a strain-free setup means in practice: you use it, trust it, and it earns its place in your routine. Water conservation techniques aren't just about numbers on your bill, they're about showing up day after day, season after season, without fatigue or fear.
Your Next Steps
If you're ready to cut water waste and reclaim your weekend, start small. Convert one bed or one zone this spring. Watch it work through the season. Note what flows smoothly and what needs tweaking. Then expand. Over two or three seasons, you'll have a complete automatic garden watering system tailored to your yard (and you'll have done it yourself, saved money, and learned how every part fits together).
The conversion is not hard. The payoff is immediate: lower water bills, happier plants, and the knowledge that you've taken control of your garden's thirst. Explore local garden groups or online forums where people share their hose-to-drip conversion setups; you'll find real stories, troubleshooting tips, and the encouragement that comes from knowing others have walked this path.
Related Articles